If you are a DIY enthusiast like me, you probably heard about Japanese saws. These handsaws are lighter and thinner than standard Western saws, making them perfect for various projects. They also function differently, which can confuse first-time users.
Before using a Japanese saw, know that it cuts with a pull stroke instead of a push movement. To use a pull saw, grip the handle correctly and ensure a good posture. Then, start cutting the wood.
However, these are just a few steps to getting started with this handsaw. This article will guide you through the entire process of how to use a Japanese style pull saw. But first, we will cover the features and benefits of this tool.
What Is a Japanese Saw?
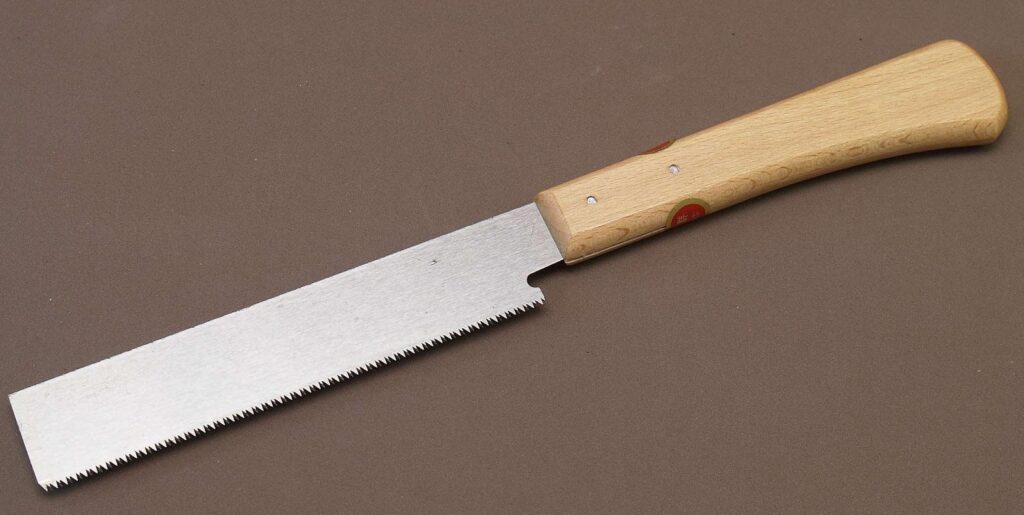
A Japanese pull saw, also known as the Nokogori, is a type of handsaw popular in carpentry and woodworking. As its name suggests, it cuts materials on the pull stroke rather than a push movement on western saws. It gives you greater control and precision as you pull the blade toward the wood.
A Japanese saw also has a strong, thin blade. It requires less effort to wield, so you can cut different materials with minimal fatigue.
Japanese pull saws are available in different types that make them suitable for various projects. The two main styles are Kataba and Ryoba. The former has a single edge to ensure precise cuts, while the latter offers two blades for versatility.
What Are the Benefits of a Japanese Pull Saw?
Japanese pull saws started to become popular in recent years due to their unique design and many benefits.
One of the main advantages of pull saws is their cutting direction. They can produce clean and precise cuts since they require you to pull the blade towards you.
Another benefit of a Japanese saw is its durability. It mostly uses high-quality steel that doesn’t bend or get dull quickly.
Despite their tough construction, Japanese pull saws also tend to be lighter and thinner than equivalent western saws. These make them easy to carry and use in small workshops.
Finally, Japanese saws come in different shapes and sizes. Each one suits a specific type of woodworking. They are among the most versatile tools for carpentry and woodworking.
How to Use a Japanese Pull Saw? 10 Easy Steps to Follow
Using a Japanese saw may seem challenging at first, especially if you mainly use western or European saws. But with little practice, you can learn how to wield this tool for your woodworking projects.
Below, we will teach you how to use a Japanese pull saw in ten easy steps.
Choose the Appropriate Japanese Saw Type
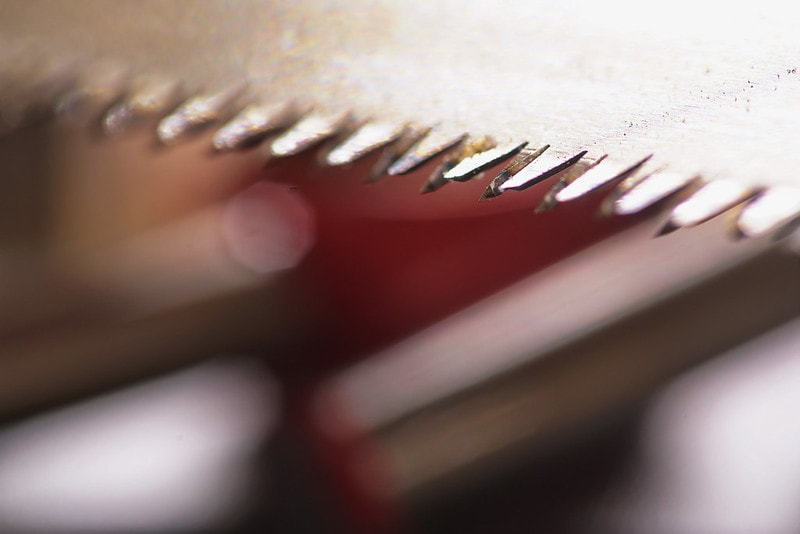
Japanese saws come in different blade configurations and styles. So, the first thing you must do is select the appropriate blade depending on your needs and preferences.
The most popular Japanese saw types are Kataba, Ryoba, and Dozuki.
The Kataba offers a single set of cutting teeth in either crosscut or rip-cut configurations. It is suitable for creating large and deep cuts with precision.
In contrast, the Ryoba has a dual-blade design that is suitable for cross cuts and ripping wood.
The Dozuki has a single blade with steel back support. It can create fine cuts on the wood, ideal for sawing dovetails and miter joints.
However, you can also consider specialist saws like the Mawashibiki and Kugihiki. The former has a soft, flexible blade to cut corners and various shapes. Meanwhile, the latter offers a narrow blade designed for precision.
Wear Safety Gear
After choosing the Japanese saw, the next thing to consider is your safety.
Remember that you will be working with sharp blades. You can easily get injuries if you’re not careful.
Wear safety goggles to protect your eyes from sawdust and small wood pieces.
You must also use a mask to prevent inhaling dust generated during sawing.
And if possible, wear a pair of thick work gloves to avoid accidental cuts and injuries.
Determine the Amount of Wood to Remove
Now that you’re wearing proper safety gear, it is time to determine the cut you will make.
Ask yourself how much wood you intend to remove. It will determine the ideal position of your hands as you saw the material.
If you want to strip off little wood, place your hand close to the blade tip.
Position your hands near the handle and away from the edge to remove more material.
Mark the Cutting Area
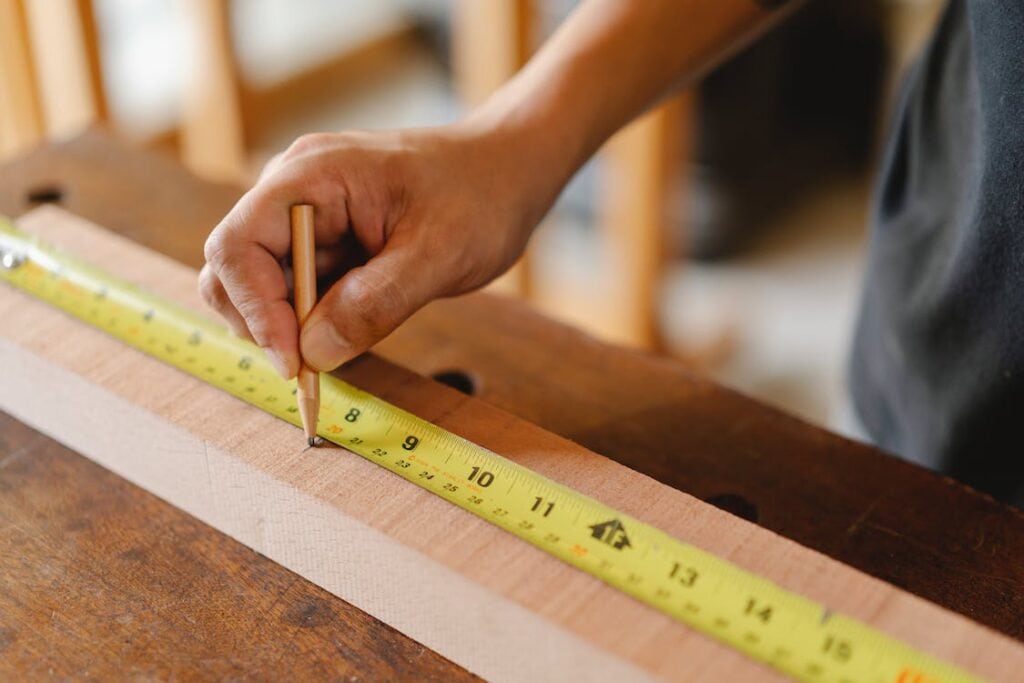
While you can go straight to cutting with a Japanese saw, it is best to mark the material first. Doing so will minimize errors and material waste.
Use a pencil or marker to indicate the areas you want to remove. Get a ruler to create straight lines on the wood.
If you want to cut wood at an angle, use a speed square. However, note that this tool can only measure 45-degree and 90-degree angles.
Consider a bevel square for cutting other degrees of angles on the wood.
Grip the Pull Saw Correctly
Once you have marked the cutting area, you can now hold the Japanese pull saw.
Use both hands to grip the saw. Place your index finger on top of the blade to guide the cutting direction.
Then, position your thumb on the bottom edge. Doing so can make it easier to apply the necessary pressure while cutting through wood.
As previously mentioned, wearing gloves is essential since you’ll be touching the sharp blade.
Ensure Good Posture
You must also ensure good posture when using a Japanese pull saw to prevent injuries.
If you are right-handed, grip the saw with your dominant hand. Then, place your left foot slightly forward.
Those who are left-handed must hold the wood firmly with the other hand. They must also step forward with the right foot.
But regardless of your dominant hand and footing, align your arm and shoulder with the blade. Put your elbow close to you to keep the Japanese saw secure.
Position the Pull Saw
After ensuring good posture, you can place the pull saw on the wood.
Check if the cutting teeth are facing forward. It must also be parallel to the material you intend to cut.
If you want to make bevel or angled cuts, tilt the saw appropriately.
You can practice with air or scrap wood. Be patient, as it takes time to get used to the new blade positioning.
Start the Cut
Once you are confident with the blade placement, you can begin the cut.
Apply light pressure to pull the Japanese saw toward you. Move slowly and steadily to keep the saw level with the wooden material.
Use the marked line you put earlier as a guide during cutting. Follow it as closely as possible for a straight, precise cut.
Avoid putting too much pressure on the Japanese pull saw. Forcing the saw can cause the blade to move in another direction, or worse, bend and break.
You can also follow the tips below, depending on the type of cut you want to achieve.
Making Rip Cuts
Ripping involves cutting the wood along its natural grain.
To make successful rip cuts, consider holding the pull saw with both hands. The tips above regarding posture and saw positioning still applies. But this time, you must cut the material with both hands.
It is essential to prevent the wood from moving while cutting. When the material wobbles in place, it puts you at risk. Better safe than sorry.
Making Crosscuts
Crosscuts are types of cuts done across the natural wood grain.
Select the proper blade to ensure it can cut across the wood. Tilt the Japanese saw to create an angle of around five to ten degrees.
Then, grip the middle part of the handle near the rear. Apply little pressure when pulling the saw towards you.
Finish the Cut
When you are near the end of the cut, reduce the pressure on the saw. Doing so prevents cutting more material than intended.
Take the saw away from the wood.
Check the workpiece to see if you achieved your intended cut. If not, feel free to remove more material.
Clean the Japanese Pull Saw
After using the Japanese saw, clean it thoroughly.
Get a soft cloth to wipe off sawdust and other small wood pieces on the blade. Avoid leaving it dirty or wet because it can lead to rust on the steel.
Finally, store the handsaw in a safe place away from the reach of children.
Conclusion
A Japanese saw works on the pull stroke instead of the standard push motion with a western saw. It might seem daunting to use at first, but it is relatively straightforward to use.
Wear appropriate safety gear before using a Japanese saw. Hold the tool properly and align your arms and shoulders to the blade. Then, start cutting along or across the wood grain, depending on your preference.
Do you have more questions about using Japanese pull saws? Leave a message on our contact page, and we’ll reply to you soon.

